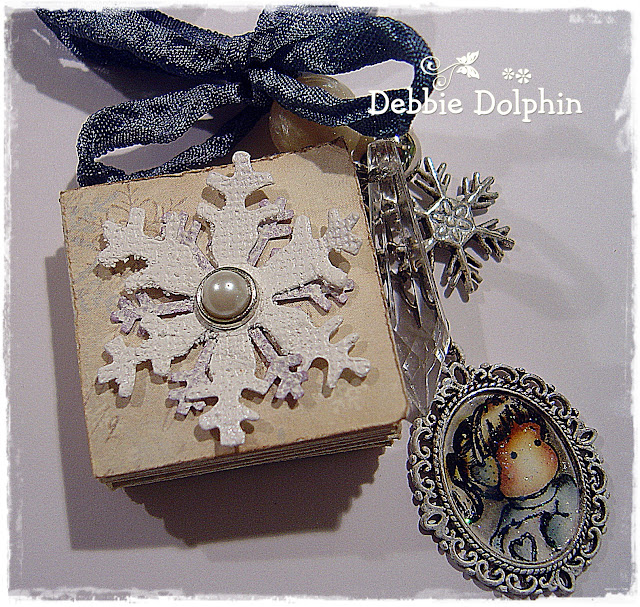
Hi There
Hope you are all well this week.
Ive recently been asked if I would do a Tutorial on the POP UP Star Book I made last year. So here it is and there's lots of pictures. Hope you like it.
Using a double sided patterened Designer paper of your choice cut out 5 squares 3'' x 3'' and two smaller ones 1.5'' x 1.5'' and Distress Edges with Walnut Stain Distress Ink.
Score and fold down the centre of all 5 of the larger squares.
Turn and repeat so all 5 squares should now look like the picture above.
Carefully score diagonally and fold, but only do this once.
Now fold all five squares where scored and it should look like this. Here we fold the diagonal line inwards.
With the open folded area to the outside adhere all 5 pieces together.
************
Before we adhere the outer book ends add a piece of ribbon and secure. Do this on both ends.
Thread both ribbons through one bead. This helps hold the bead in place when the star book is open.
When open it should look like this. Ive embellished with Mini Skating Tilda.
and this is what it looks like when closed. They make fantastic tags for your Chrismas presents and believe me they are so easy to make.
Thankyou so much for visiting me.
Bye for now
Hugs


16 comments:
Wow, this is gorgeous. Love the emblies.
Hugs, Yvon
Gorgeous star and great tutorial :) Thanks for sharing :)I think I´ll have to try this one :)
Hugs, Karita
Thank you for the wonderful tutorial.
Hugs,
bastel_fee
Hi Wow how clever is this is, now on top of my wishlist of projects to make !! I love how the mini Tilda is in the gorgeous frame ! Thanks for taking the time to show us !! ;0)
Really clever. Fab project & thanks for the tutorial.
Tine :)
wow...what a gorgeous idea debbie sheer perfection and beautifully coloured and designed in awe ...hugs sassyxxxx
Wow this is truly awesome Debbie. Looks a great idea.
HUGZ Fleur xXx
What a gorgeous creation/star you make Debbie!! Thanks for great tut.♥.
Youre creations, coloring and design are always soo delicate and beautiful♥!:) I'm visiting your blog very often, but not so good to leave a comment!;)
I become a follower!
looking forward to see more.
have a nice week, Debbie, and take good care.
Crafty hugs, ellen
Ohh Debbie, this is so cool! Thank you for this tutorial!! I believe I have found my greetingcard for this year *lol*
Hugs, Karin
Your Christmas star is amazing beautiful thanks for the tutorial it look difficult ..
Hugs Cora
Oh I love this Debbie. Definitely going to make some. Thanks so much for sharing the tutorial. Your star is gorgeous! "Hugs"
Hi Debbie.
Wonderful project, great tutorial, marvellous masterpiece... you are a fabulous artist!! That's enough Eulalia, don't go too far ;D !!!!
You are an inspirer for your fans!
xoxoxo Eulalia
Debbie d, this very cool!!! You are always thinking!! And so very creative!!
hugs......
nice, nicer , nicesten, your rojects are so beatifull i love this they are very very good. lg marion
Hi Debbie - this is so clever & of course beautiful as always! I LOVE that metal oval frame - stunning!
But more importantly I can't believe your August, as in were both Debbies, both August, both UK & I don't think you're gonna quite believe me when I tell you - I'm the 7th too!!! How mad is that?!! Quite remarkable! Ha ha.
WOW!! This is Beautiful!!! Gorgeous!!. I want to make this!!.. Thank you so much for the Tutorial!!
Post a Comment